
==============
♥Supplies♥
Tube
===
You'll need a tube with a close up and full body for this tut.
Cowgirl by PinUp Toons. You can find it HERE.
This is a Pay To Use tube. You need a license to use it. Do not use this tube without a license.
Scrap Kit
======
American Honey by Pimp'd Designz
You can find this beautiful kit @ PMTw/S HERE
Font
===
Coventry Garden
------------------------
♥Let's Start♥
Open a new canvas size 800x800 (you can resize later) and 72dpi.
Open pd-jean-01.png and copy and paste as a new layer.
Slightly rotate it to the right.
Open pd-frame-02.png and resize so it fits nicely over the pd-jean-01.png element.
Grab your magic wand tool and with your frame layer selected, click inside it also making sure to get the spaces between the string on the frame.
Selections>Modify>Expand by 2
Select your pd-jean-01.png layer and hit delete on your keyboard.
Open the following elements and place them how I have mine. Resize if needed. See my tag for reference.
pd-twine-01.png
pd-buckle.png
pd-flower-petals.png- Duplicate and rotate top petals layer to the right slightly and place on the side of your frame. With your magic wand tool, click inside the frame again, Selections>Modify>Expand by 2 and select your petal layers (one at a time) and hit delete on your keyboard.
pd-greens-02.png
pd-flower-01.png- Duplicate, Image> Mirror, then resize it so it's a little smaller than the first one.
pd-flower-02.png- Move under pd-jean-01.png. Duplicate 3 times so you have 4 layers and then place them how I have mine.
pd-ribbon-01.png- Place all the way under your pd-jean-01.png layer rotate and resize. (See my tag for reference.)
pd-greens-01.png- Resize by 50% and then copy and paste as new layer, duplicate twice (3 layers), place how I have mine. Merge those 3 layers.
Then select your frame layer, grab your magic wand and click inside the frame, Selections>Modify>Expand by 2 and select your merged pd-greens-1.png layer and hit delete on your keyboard.
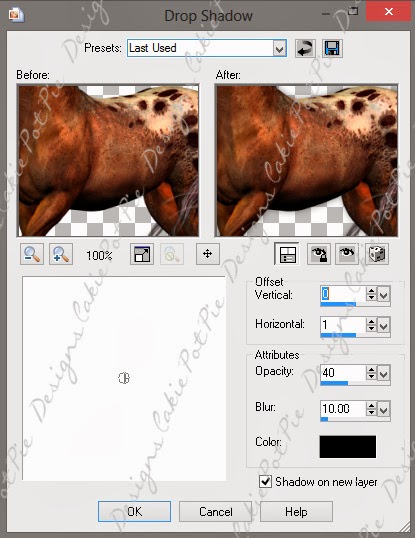
Place a nice drop shadow on each layer that compliments the tag. I used these settings for each layer to this point except the pd-flower-petals.png layers:
Offset V: 0
Offset H: 0
Opacity: 40
Blur: 15
Color: Black
For the pd-flower-petals.png layers I used the following settings:
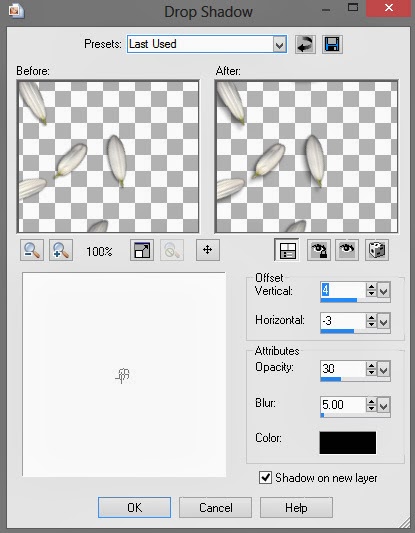
Layers> Merge> Merge Visible
Open pd-print-01.png, place under your merged frame layer, resize and rotate slightly to the right. See my tag for reference.
Add the close up of your tube under your frame layer, resize it to fit inside the frame if needed. Use the same technique we've been using throughout this tut with your magic wand tool.
Click inside the frame and make sure you get the whole inside of the frame selected, Selections>Modify>Expand by 2. Selections>Invert
Go to your tube layer, hit delete on your keyboard.
Now add a drop shadow to your tube.
Open the full body layer of your tube and copy and paste as a new layer, place to the left of your frame (see my tag) and resize if needed.
Add a nice drop shadow.
Layers>Merge>Merge Visible
Crop it down, resize if needed and add your copyright and name.
Save as .png or .jpg. Whichever you prefer.
That's it! I hope you enjoyed my tut!